Power supply ‘fixing’

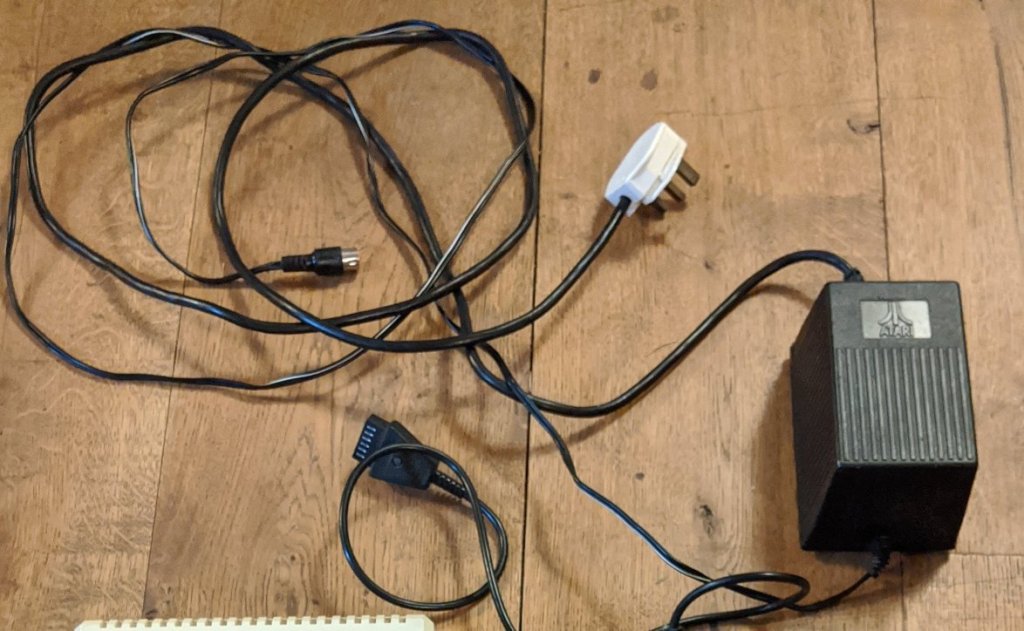
When I got the 800xl, it came with an original Atari power supply. Problem was, the voltage output was, erm, nothing!

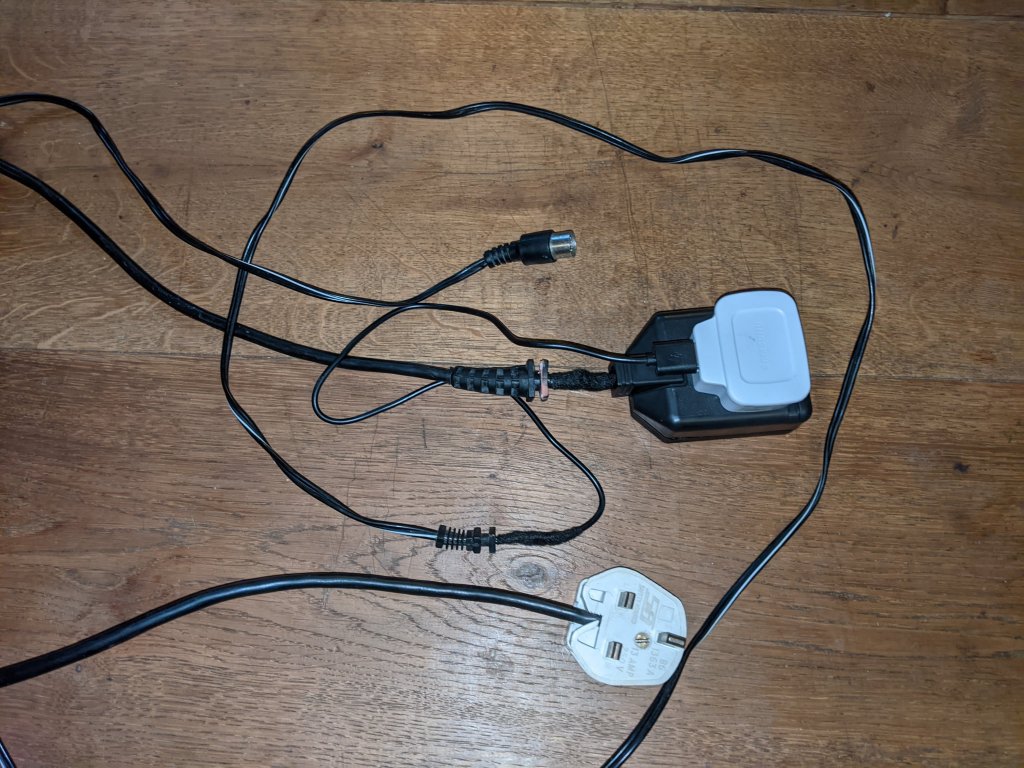
The supply should output 5v at 2a, which just so happens to be what virtually every usb phone charger you might have lying around in a drawer outputs, so the first thing I did was to remove the cable from the broken Atari supply and solder it to a cut down usb cable. This allowed me to power the computer up at least, but didn’t really satisfy my need for everything to look as original as possible.

It works, but isn’t pretty!

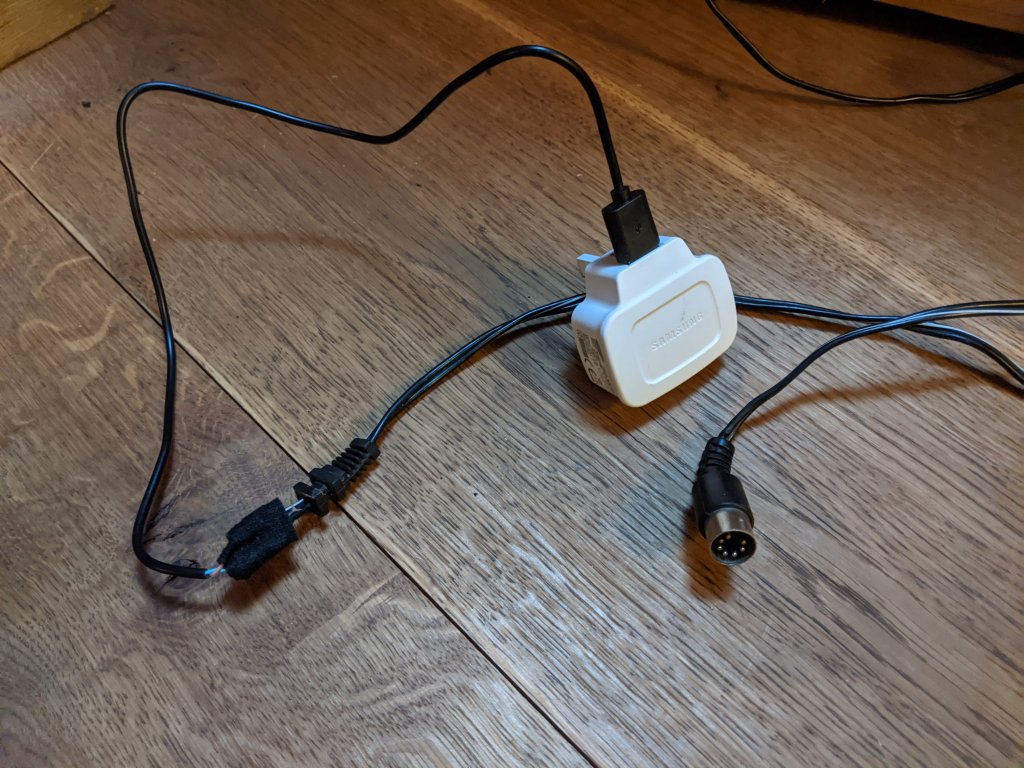
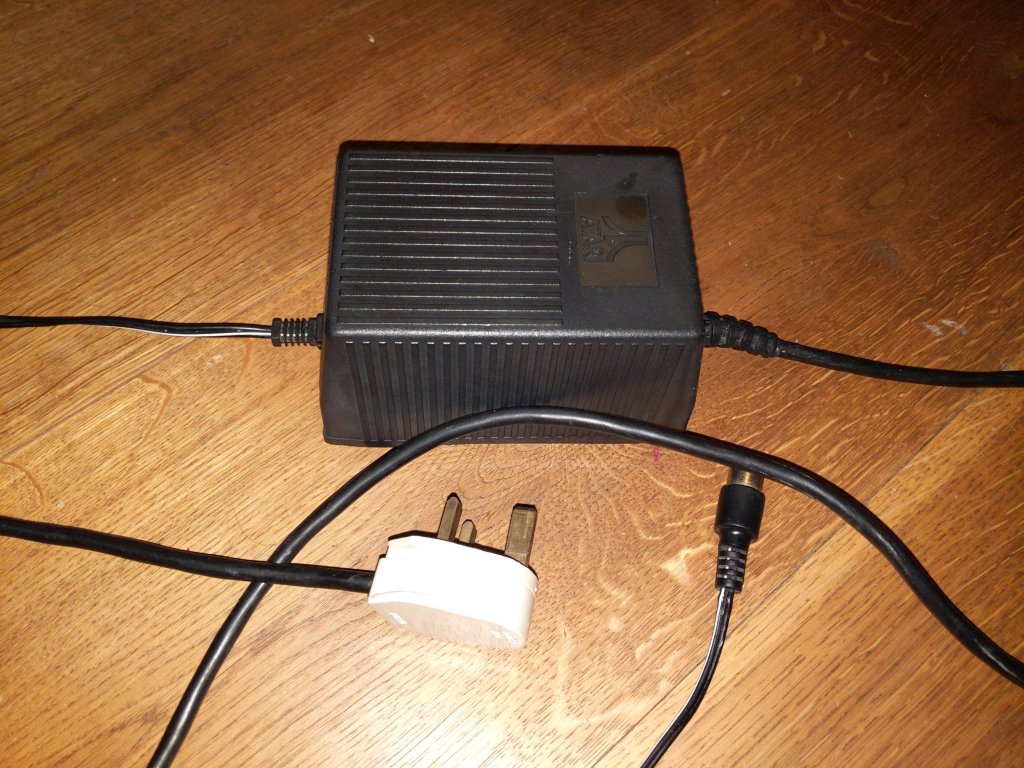
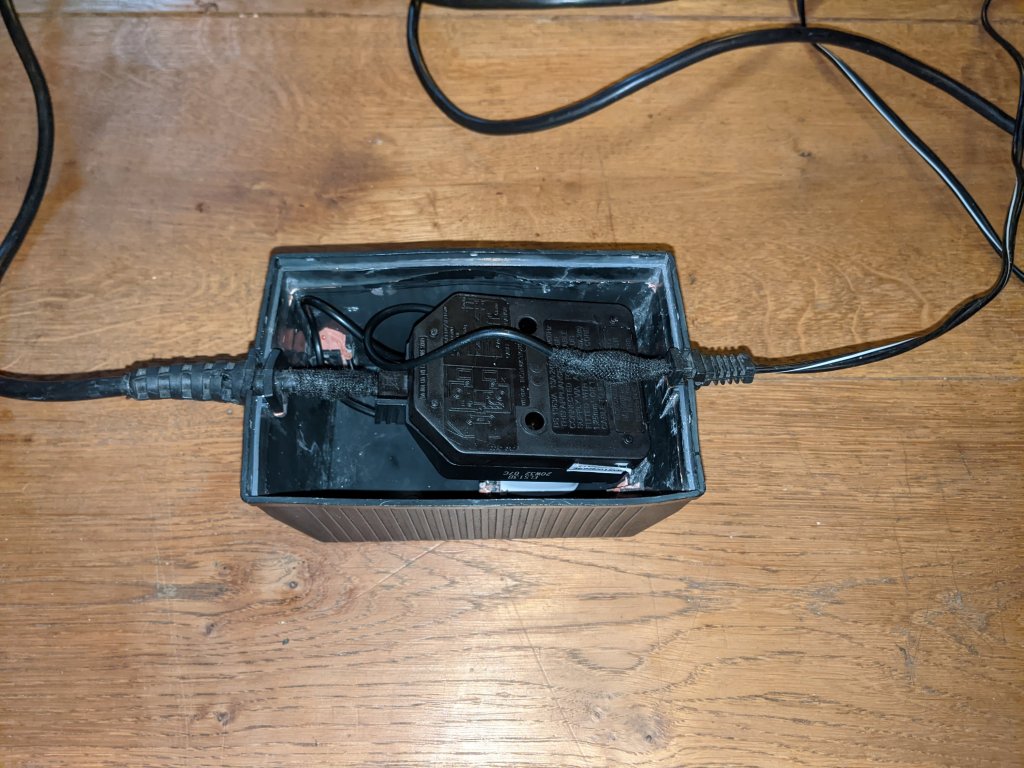
So the plan I came up with was to take the old power supply electronics out of the Atari ‘brick’, put the usb charger inside and close it all up again. The end result would be lighter in weight than the original, but would at least look the part.

I want it to still look like this!

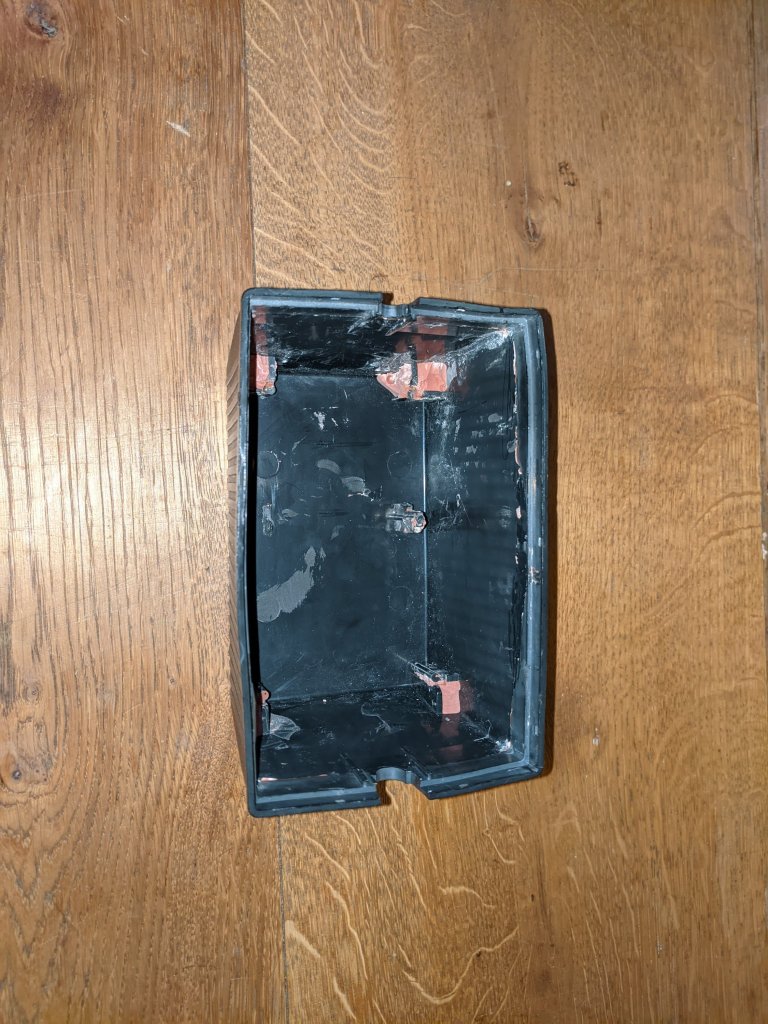
I managed to lever the base off of the supply brick, though it did break some internal fixings, but no big deal. The supply itself was actually ‘potted’ which means it was buried in a kind of rubberised epoxy resin that had been poured in around the supply electronics. By soaking the power brick repeatedly in boiling water, the resin started to break away and I was eventually able to remove the contents, leaving an empty plastic PSU brick, and the cables.

Hollowed out Atari ‘brick’

From here, I attached a mains power plug socket to the plug cable, plugged my modified usb charger and cable into this and then hid all of that inside the hollowed out brick.

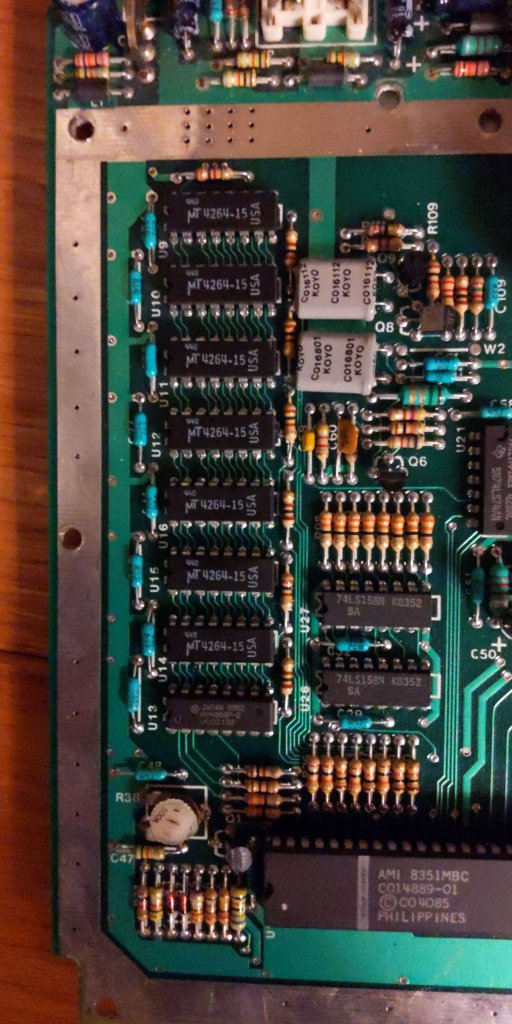
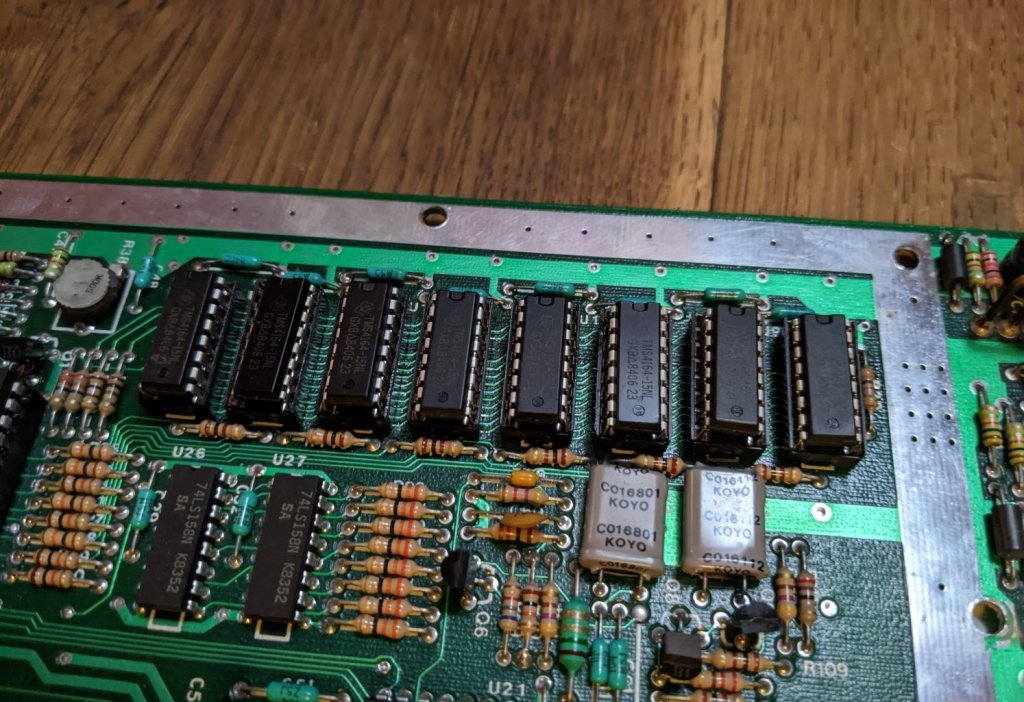
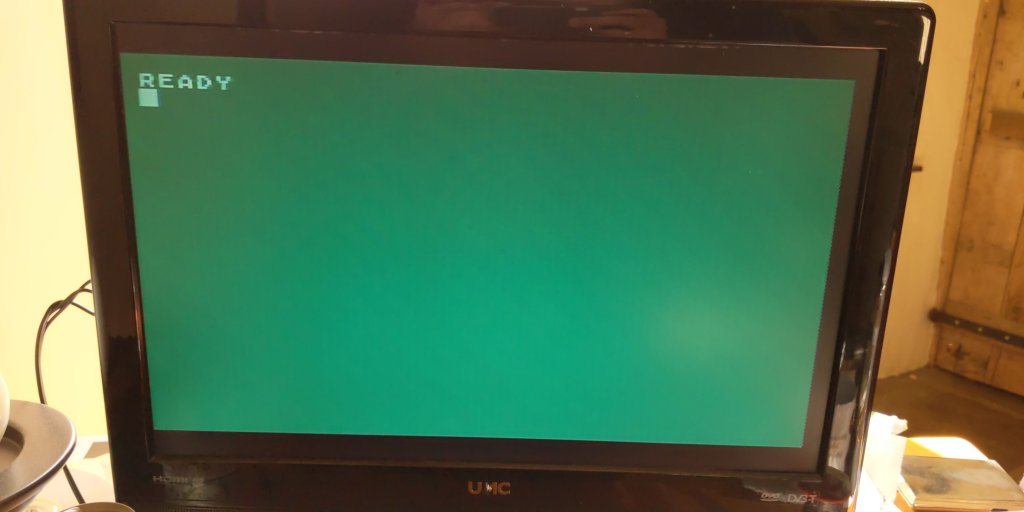
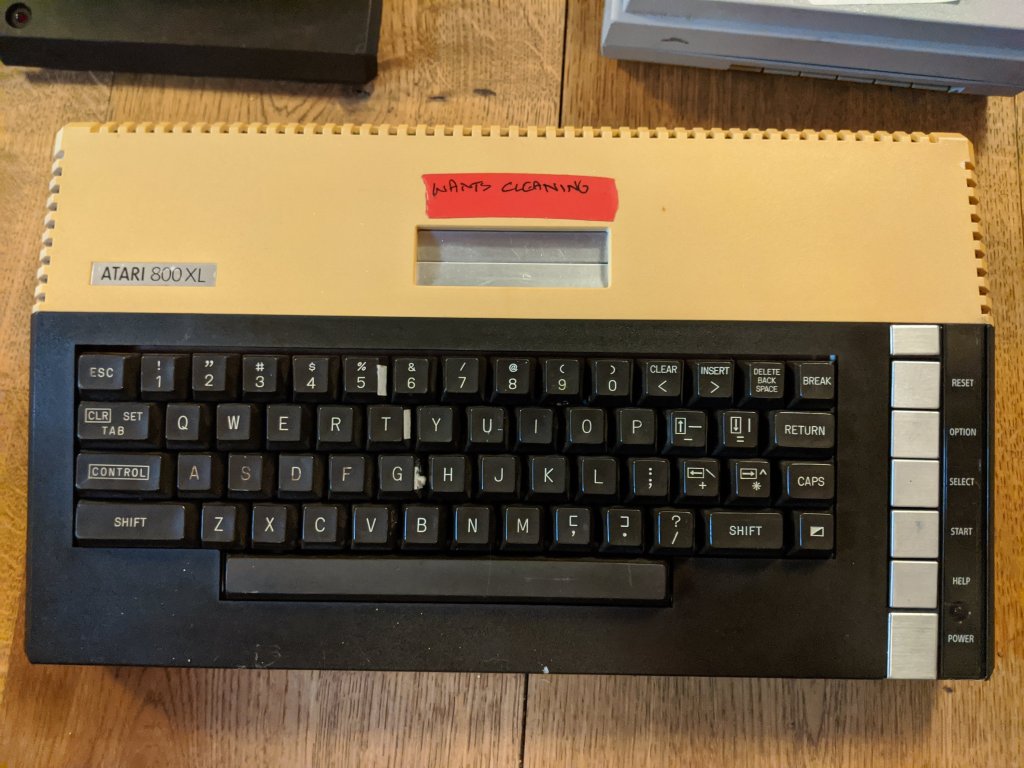
I’ve described it badly – here’s some pictures!

Original PSU cables attached to an old Samsung USB charger power supply
USB charger power supply and original cables fitted in original PSU brick
Base refitted
And the finished article – a working supply that looks original

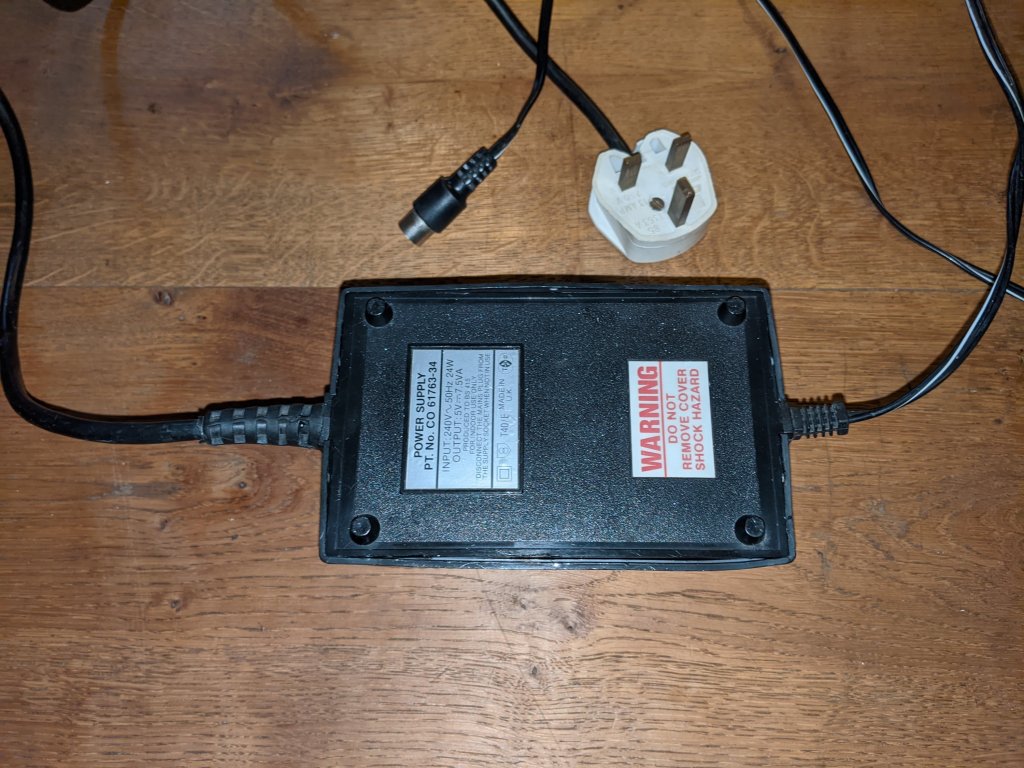
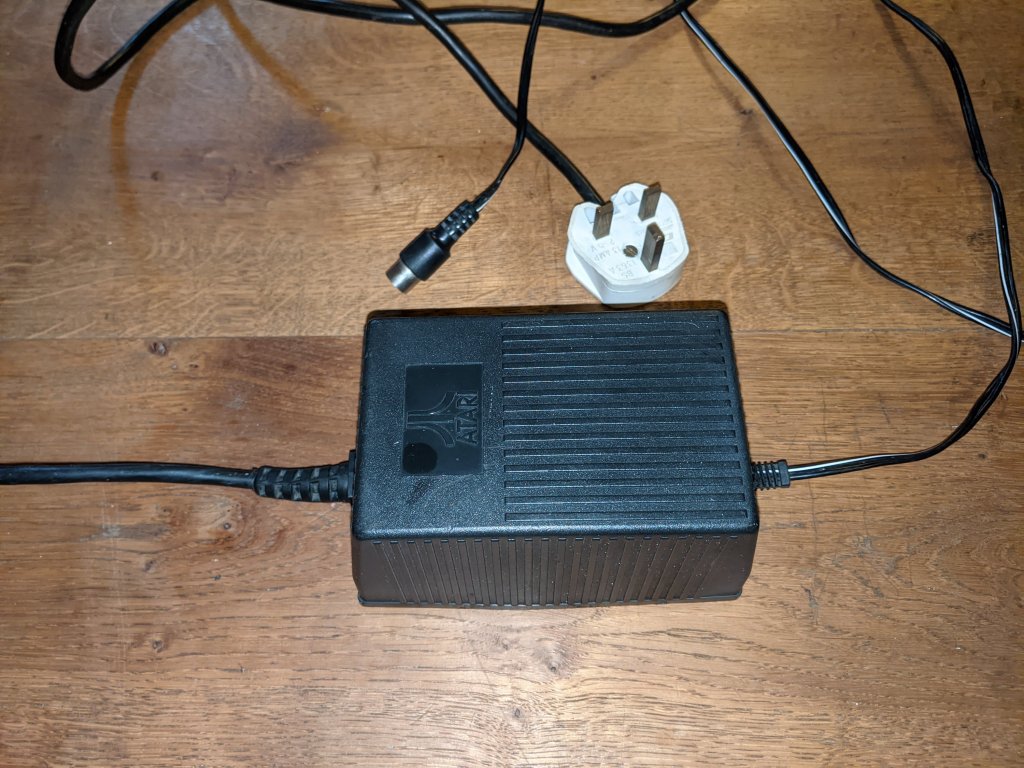
So now I have a working PSU that uses the original Atari brick and cables to keep the original look, but has a modern 5v usb supply inside.

800XL – initial list of problems

When I first looked over the 800XL, it clearly needed cleaning, but I wondered if the problems would all be cosmetic, or a little more involved than that.

Turns out it’s a bit more involved. The first issue was that the power supply wasn’t outputting any voltage. To overcome this, I found an old usb phone charger and soldered on the cable from the original power supply.

Original power supply lead soldered to usb phone charger

I hollowed out the old power supply brick with the idea that I will hide the new usb charger in the old retro case, but that’s for another day.

With a working power supply, next on the list was to power the machine on and tune the TV into the old RF signal from the machine.

I plugged it in, tuned in the TV and…

Not quite the output I’d hoped for…

…nothing. Well, not quite nothing, it was a perfect black screen, so there was at least a sign that something was happening.

Removing the motherboard, the RAM was found to be a make that is notorious for being temperamental (MT), with the exception of one chip that had clearly been replaced in the past.

7 dodgy make RAM chips and one replacement

I desoldered the old chips, fitted sockets and ordered some new old stock chips from eBay. Once they arrived, I plugged them in.

Then I powered the motherboard up to finally be presented with…

It’s green and blurry instead of blue and sharp, but it’s a picture!

A display! It was blurry and a funny colour, but it was a display.

Next up will be improving the display – there are a number of mods online to generate an s-video signal, so I’m going to try those and will document what I find to work.

Back to where it all began – Atari 800XL

My first computer was bought by my parents for me and my sister to use.

Obviously, my sister didn’t get a look in and fortunately wasn’t that bothered, so I spent many hours playing games (normally the £1.99 Mastertronic budget titles I could buy with pocket money) and learning to program in basic.

Years went by and the computer got sold for very little at a bootsale (mint and still boxed). A Spectrum +2, Atari ST, Amiga and finally a PC for university followed, but over the years my nostalgia for the old 800XL with its matching tape drive has grown.

And finally I have one! And it needs work!

A motley crew of bits and pieces

The computer itself is heavily yellowed but is believed to be working. It’s labelled as “Wants cleaning” which is definitely a fair assessment!

The matching 1010 tape drive is not in the greatest shape – the front has been removed and the metal badging is missing

A little bit broken

The XC12 tape drive is (I believe) made to match the facelifted XE computers, but apart from being dirty looks to be in much better order.

This tape drive looks better

Until you read the label underneath that says “broken”, suggesting all is not well under the surface

Ah maybe not

Also supplied was a stack of cassettes that may or may not work

And a power supply for the machine was also provided.

The power supply for the 1010 tape player isn’t here and the XC12 tape player doesn’t appear to need a separate power supply at all.

Other than that, I appear to have everything I need to remember my formative years in computing. So what’s the plan I hear nobody asking…

…Ok well I’ll tell you:

First up, I’m going to test the power supply, then hook up the computer to an old portable TV I have and see if it powers on and runs basic.

Next, I’m going to try both tape players and work out what’s wrong with them (after finding out what power supply I need) and get at least one of them working/loading one of the tapes.

Then the cleaning, retrobrighting etc will commence.

Finally, I’m going to look into scart/component cables rather than the old coaxial and will install an SD card loader into the tape drive (probably the matching but heavily damaged 1010 tape deck – I don’t want to butcher a good one), so that it looks the part but I don’t have to wait 15 minutes for a game

If I can get the XC12 tape player working I’ll probably try to sell it or trade it for a good condition 1010 so that I have an SD converted 1010 and an all original one.

So that’s the plan. It may be a few days before I get a chance to begin, but I’m very much looking forward to getting this up to scratch and being used again!

Blog at WordPress.com.

Up ↑

Design a site like this with WordPress.com
Get started